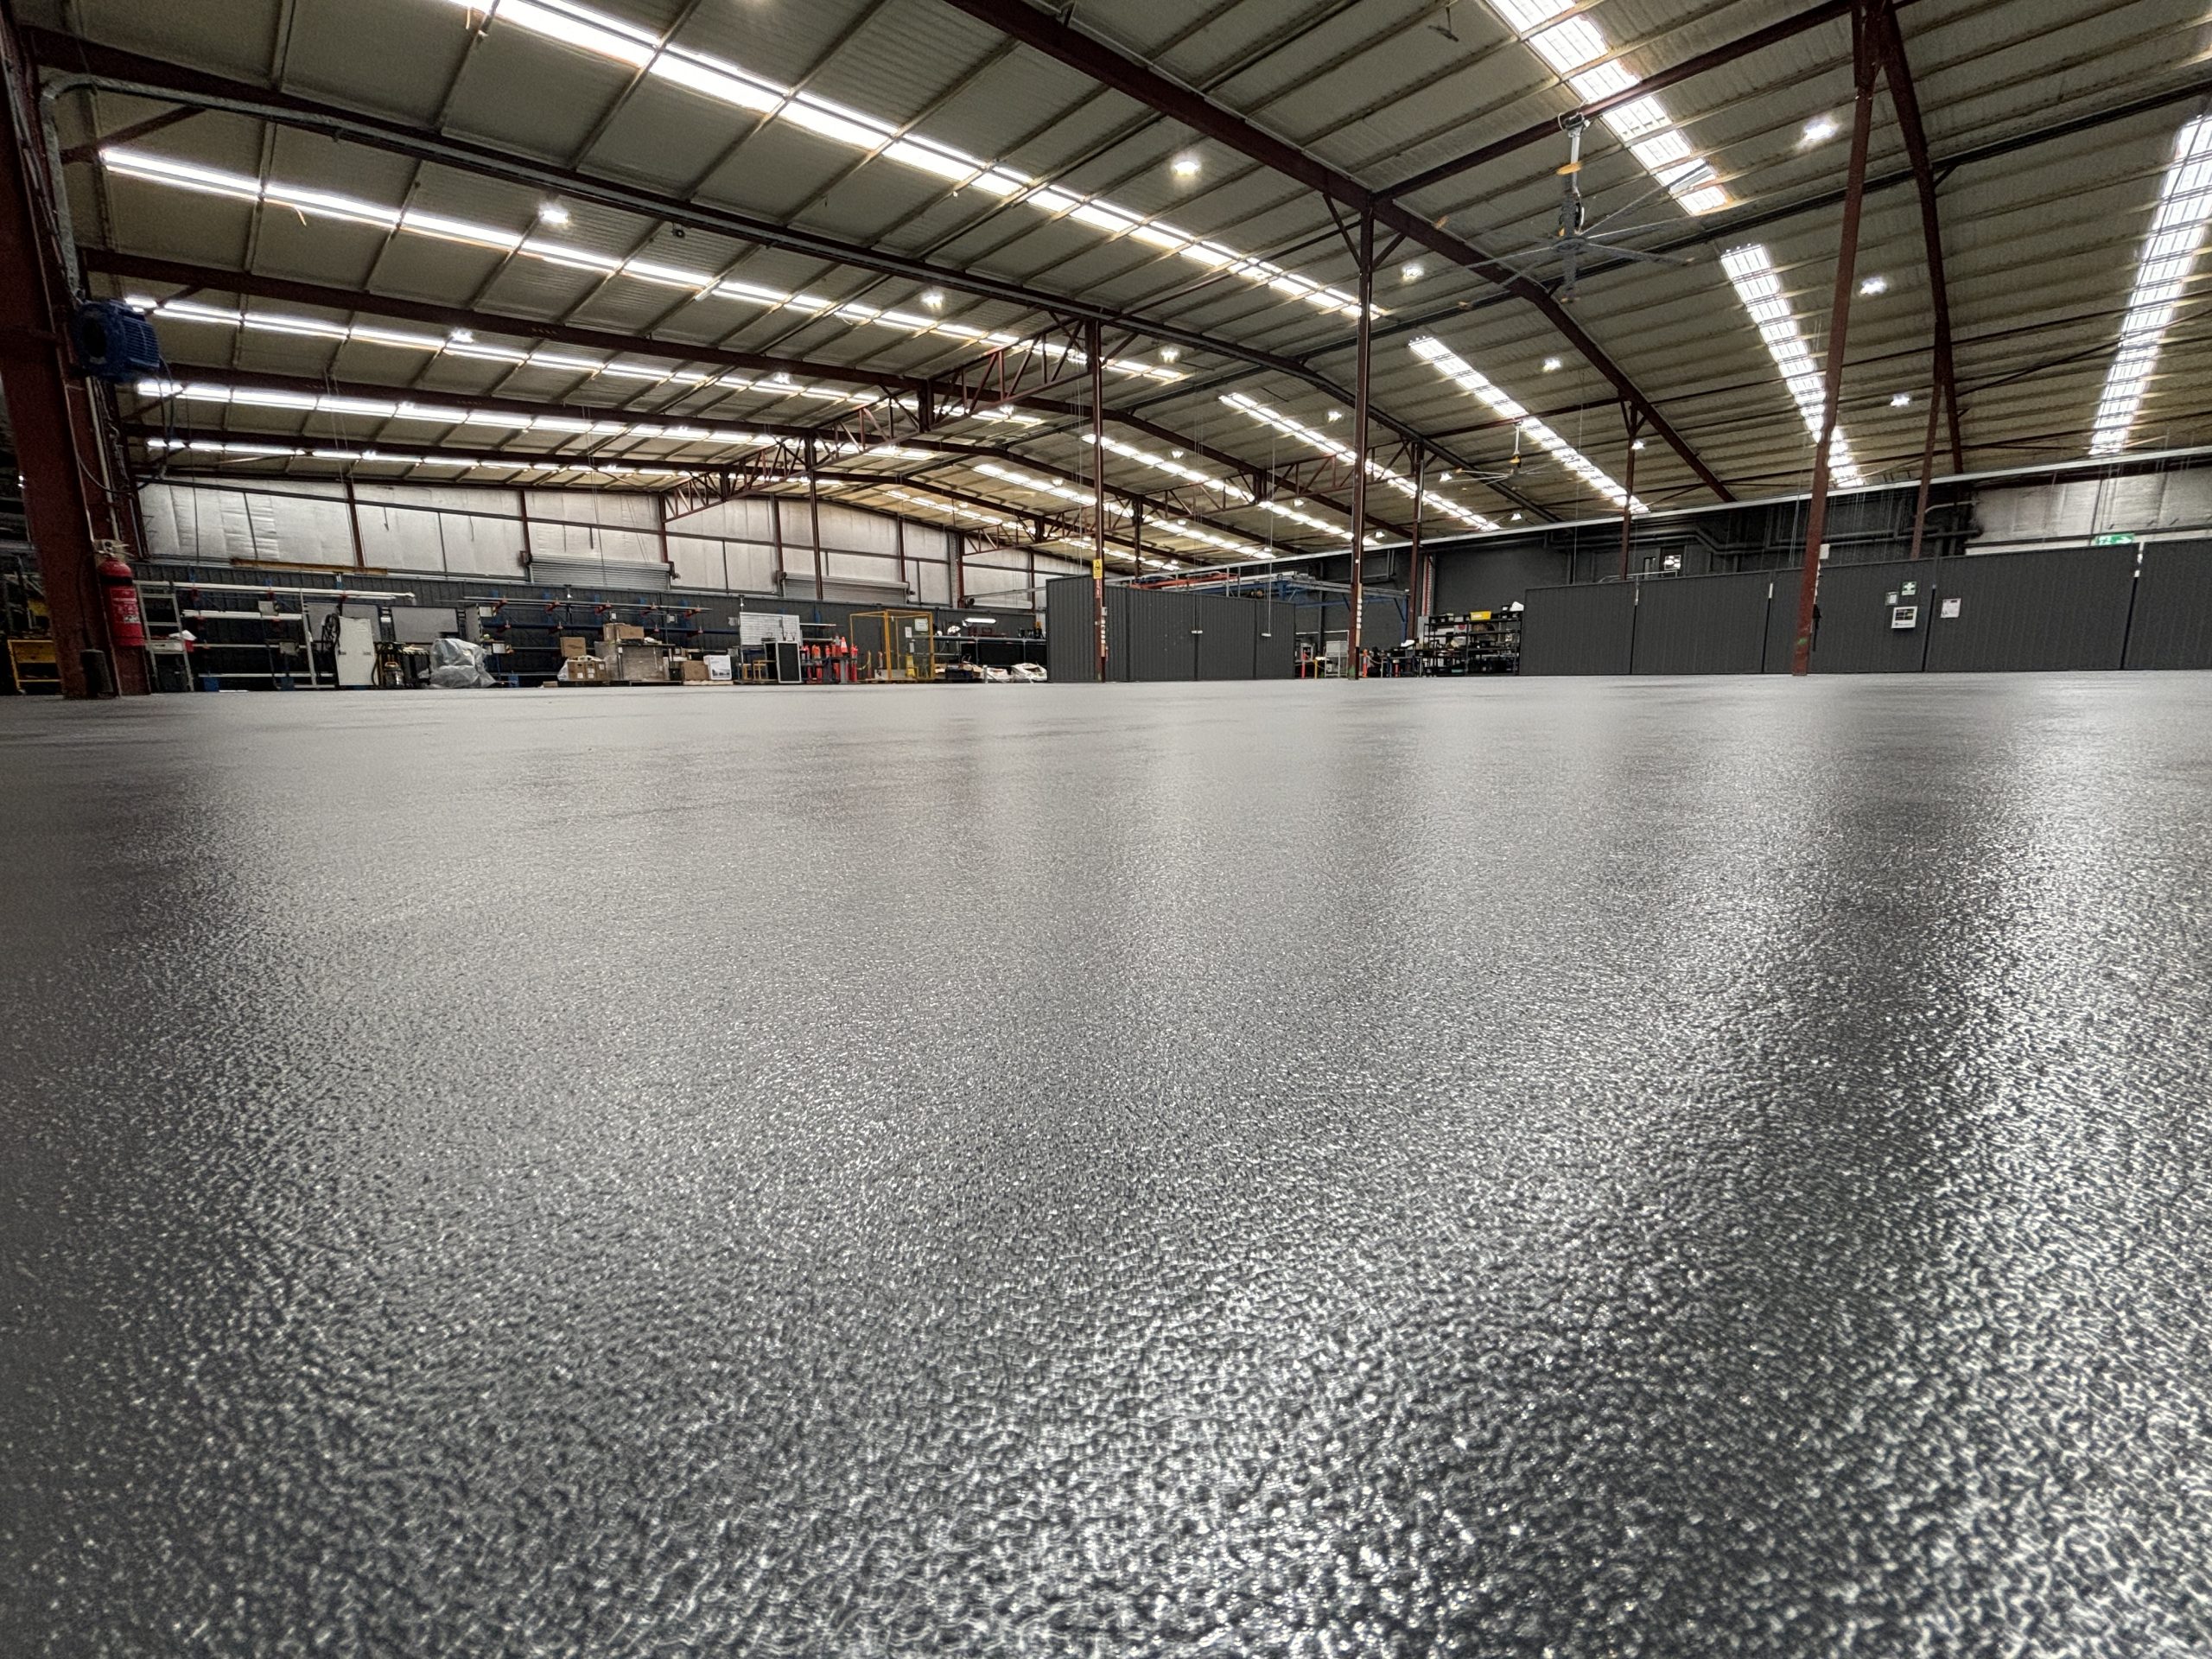
Epoxy flooring can transform any space with its durability, shine, and professional finish. When done properly, these coatings can last decades whilst withstanding heavy traffic, chemicals, and daily wear. However, we’ve seen countless projects go wrong, leaving property owners frustrated and out of pocket.
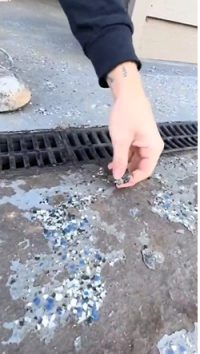
The truth is, most epoxy floor failures aren’t down to poor-quality products, they’re the result of cutting corners during installation. We recently shared a TikTok video showing exactly what happens when proper preparation is skipped, and the response has been overwhelming. It’s clear that many people have experienced these issues firsthand.
If you’re considering an epoxy floor coating for your garage, warehouse, or commercial space, understanding these common failure points could save you thousands of dollars. Here are the seven most critical mistakes that cause epoxy floors to fail.
1. Inadequate Surface Preparation
This is the big one and the cause of the lion’s share of all epoxy floor failures. Many contractors rush this stage or skip it entirely to save time and money, but it’s absolutely crucial for proper adhesion.
Concrete surfaces must be properly cleaned, degreased, and profiled before any coating is applied. This typically involves diamond grinding or shot blasting to create the right surface texture. Oil stains, existing sealers, and contamination must be completely removed. If the epoxy can’t bond properly to the substrate, it will eventually lift, peel, or bubble.
Signs of poor preparation include coating that can be peeled off in sheets, bubbling within weeks of application, or areas where the coating never properly adhered.

2. Ignoring Moisture Issues
Concrete is porous and can hold significant amounts of moisture, even when it appears dry. Applying epoxy over damp concrete is a recipe for disaster, as trapped moisture will push the coating away from the surface.
Proper moisture testing should be conducted before any installation. This includes both surface moisture checks and vapour transmission rate testing for below-grade applications. In high-moisture environments, a moisture mitigation system may be necessary before the epoxy coating can be applied.
The tell-tale signs include white, cloudy areas in the coating (called blushing), bubbles that appear days or weeks after application, and coating that becomes soft or tacky in humid conditions.
3. Wrong Product for the Application
Not all epoxy coatings are created equal. Using a basic garage floor kit in a commercial kitchen, or applying a decorative coating in a heavy industrial setting, will lead to premature failure.
Different environments require different formulations. Chemical-resistant epoxies for laboratories, high-temperature variants for areas near ovens or boilers, and flexible formulations for areas prone to movement or thermal cycling all serve specific purposes.
Consider factors like chemical exposure, temperature ranges, traffic levels, and UV exposure when selecting your coating system. A professional assessment can help determine the right product for your specific needs.
4. Poor Environmental Conditions During Application
Epoxy coatings are sensitive to temperature and humidity during application and curing. Typically, most products require temperatures between 10°C and 30°C, with relative humidity below 85%. Working outside these parameters can cause a host of problems.
Cold temperatures slow curing and can prevent proper cross-linking, whilst excessive heat can cause the coating to cure too quickly, leading to poor flow and finish quality. High humidity can cause surface defects and interfere with adhesion.
Professional installers monitor conditions carefully and may use dehumidifiers, heaters, or fans to maintain optimal conditions throughout the installation process.
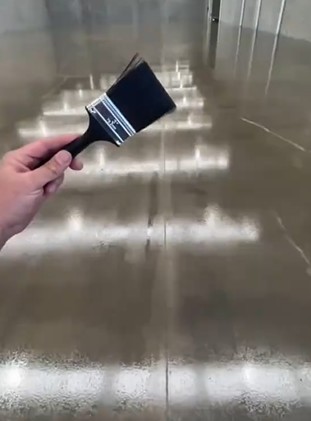
5. Rushing the Process
Quality epoxy installation cannot be rushed. Each coat needs adequate time to cure before the next is applied, and the final coating requires several days to reach full strength. Attempting to speed up the process by applying coats too quickly or opening the area to traffic too soon will compromise the entire system.
Follow manufacturer guidelines for recoat windows and cure times religiously. Factor in temperature and humidity, as these affect curing rates. It’s better to wait an extra day than to compromise the entire installation.

6. Inadequate Film Thickness
Applying coatings too thinly is a common cost-cutting measure that backfires spectacularly. Thin coatings are more prone to wear, provide less chemical resistance, and may not properly hide substrate imperfections.
Most epoxy systems require specific wet film thicknesses to perform as designed. This typically translates to coverage rates that are lower than what inexperienced applicators might expect. Trying to stretch the product too far will result in a substandard installation.
Professional applicators use wet film thickness gauges during application to ensure proper coverage rates throughout the project.

7. Skipping the Primer
Many coating failures can be traced back to inadequate priming or skipping the primer altogether. Primers are specifically formulated to penetrate the concrete substrate and provide a strong foundation for the subsequent coats.
Different substrates and conditions may require different primer types. High-build primers for very porous concrete, moisture-blocking primers for damp conditions, or penetrating sealers for dusty surfaces all serve specific purposes.
The primer coat is not optional: it’s an integral part of the system that ensures long-term performance and durability.
Getting It Right the First Time
Epoxy floor coating is an investment in your property, and like any investment, it pays to do it properly. The cost difference between a professional installation and a quick DIY job is often minimal when you factor in the longevity and performance differences.
When evaluating contractors, ask about their preparation methods, moisture testing procedures, and product selection process. A reputable installer will be happy to discuss these technical aspects and should provide detailed specifications for your project.
Remember, fixing a failed epoxy floor often costs more than doing it right the first time. The coating must be completely removed, the surface re-prepared, and the entire system reapplied. In some cases, the concrete itself may be damaged and require repair.
If you’re experiencing issues with an existing epoxy floor, don’t ignore early warning signs like small areas of peeling or bubbling. These problems rarely resolve themselves and typically worsen over time.
For expert epoxy floor installation and repair services, contact our team. We’ve been transforming concrete surfaces across WA for over 15 years, and we stand behind every installation with comprehensive warranties and ongoing support.