Epoxy flooring really stands out as a top-notch choice for anyone after a durable and stylish floor. It’s not just about laying down a surface; it’s about creating a seamless and customisable finish that’s tough enough to handle whatever life throws at it. The process of getting epoxy flooring done is pretty straightforward but crucial in ensuring you end up with a top-quality result. It involves key steps like surface preparation, mixing the epoxy, application, and curing, each pivotal for a perfect finish.
What’s more, you can jazz it up with decorative touches like colour flakes and metallic pigments, making it a go-to for those wanting to add a bit of flair to their floors. We’ll take a closer look at each phase of the epoxy flooring process, breaking down the challenges, the techniques used, and tips for keeping it looking great. This section aims to give you a solid understanding of why epoxy flooring is becoming increasingly popular in homes and businesses across Australia.
What is epoxy flooring?
Epoxy coatings are resilient and versatile coatings applied over concrete floors, renowned for their durability, resistance to wear, and aesthetic versatility. It’s crafted from a blend of resin and hardener, which, when mixed, solidify into a rigid plastic material. This flooring solution shines in both commercial and residential spaces, offering a spectrum of decorative choices, from vibrant colours to intricate patterns, catering to diverse design preferences.
Installing epoxy flooring consists of several steps: meticulous surface preparation, precise mixing, careful application, and adequate curing time. These steps are crucial for unleashing the full potential of epoxy’s strength and longevity. With attentive maintenance, epoxy flooring systems stand up to heavy traffic and harsh conditions, all while preserving their shine and functionality.
This makes epoxy flooring an affordable and attractive flooring system for those seeking a blend of style and durability in their spaces.
3 steps to epoxy resin floor preparation
Preparing the floor for epoxy application is a critical step that sets the stage for a successful and durable epoxy floor. This phase is all about creating the perfect canvas by cleaning the surface thoroughly to eliminate any contaminants like dirt, grease, or old coatings that could hinder the epoxy’s ability to bond with the concrete. Repairing cracks and chips in the concrete is another essential task, ensuring a smooth and uniform surface that not only looks better but also enhances the floor’s structural integrity.
Moreover, ensuring the floor is level plays a pivotal role in the even application of the epoxy coating, helping to avoid issues such as pooling or inconsistent thickness. Proper preparation is the cornerstone of optimal adhesion, which is indispensable for achieving a long-lasting and visually appealing epoxy floor.
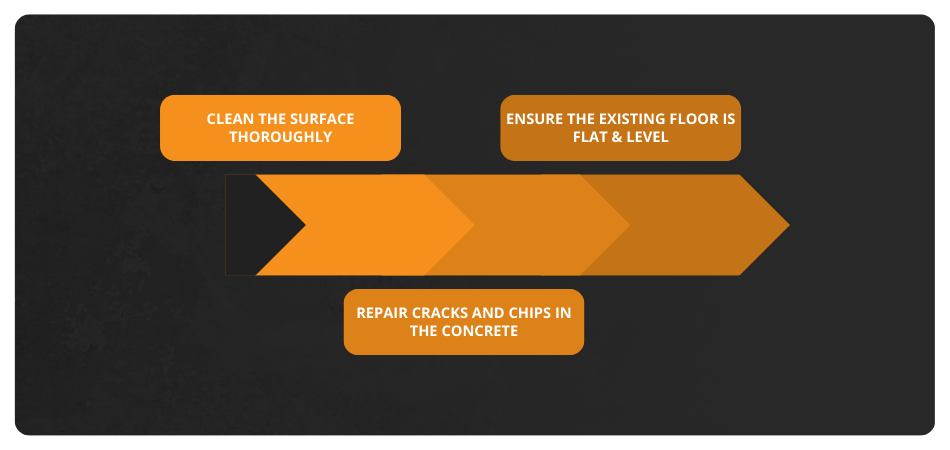
1. Clean the surface thoroughly
The journey to a flawless epoxy floor installation begins with thoroughly cleaning the surface. This crucial step involves eradicating all traces of dirt, grease, and any previous coatings to ensure a pristine canvas. A meticulously cleaned surface guarantees that the epoxy will adhere seamlessly, setting the stage for a durable and visually stunning finish.
2. Repair cracks and chips in the concrete
Next, attention shifts to repairing cracks and chips within the concrete. This process is essential for achieving a smooth, uniform surface, free from imperfections that could impact the appearance or integrity of the epoxy coating. Filling in these flaws not only enhances the floor’s aesthetics but also fortifies its structure, ensuring a solid foundation for the epoxy primer.
3. Ensure the floor is level
The final step in preparation is ensuring the floor is level. Achieving an even surface is paramount for the uniform application of epoxy, eliminating potential problems like pooling or inconsistent thickness. A level floor ensures that the epoxy coating is distributed evenly, crucial for both the aesthetic appeal and longevity of the epoxy flooring.
Mixing the epoxy solution correctly
Mixing the epoxy solution correctly is a crucial step in the epoxy floor coating process, where precision and attention to detail are key. Achieving the perfect ratio of resin to hardener is essential for ensuring the optimal strength and durability of the flooring. Incorrect proportions can lead to compromised structural integrity and an undesirable finish.
Customise the appearance of your new epoxy floors
This stage also presents an opportunity to customise the floor’s appearance by adding colour or decorative chips to the mix. Mastering the right consistency and hue demands a deep understanding of the materials at hand and a careful, methodical mixing process. A properly mixed epoxy solution not only guarantees a strong and resilient floor but also unlocks a spectrum of aesthetic possibilities, marking this step as critical for crafting a floor that is both visually captivating and functionally superior.
Ratio of resin to hardener for optimal strength
The foundation of a strong and durable epoxy floor lies in the precise ratio of resin to hardener. This delicate balance is paramount; an excess of resin can leave the floor tacky, while too much hardener may lead to brittleness. Adhering to the manufacturer’s recommended proportions is crucial for ensuring that the epoxy cures to perfection, creating a surface that is both resilient and capable of enduring heavy traffic and wear.
This meticulous adjustment forms the core of the epoxy’s structural integrity, offering a robust foundation that stands the test of time.
Adding colour or decorative chips to the mixture
Incorporating colour or decorative chips into the epoxy mixture elevates the floor from a simple surface to an artistic expression. This step allows for extensive customisation, enabling the creation of floors that range from sleek, uniform colours to vibrant, terrazzo-like appearances. Proper timing and mixing are essential for achieving an even distribution and ensuring that the colour or chips bond seamlessly with the epoxy base.
This level of customisation not only enhances the visual appeal of the floor but also injects a sense of creativity and individuality into the space, making each epoxy floor a unique reflection of personal style and aesthetic preferences.
Applying the epoxy coating step-by-step
Applying the epoxy coating is a meticulous process that transforms a well-prepared floor into a durable, attractive surface. The application commences with applying a primer layer, crucial for enhancing the adhesion between the concrete surface and the epoxy. This is followed by the even spreading of the base coat across the floor, which acts as the main layer of the epoxy flooring.
For those desiring a unique flair, decorative flakes can be sprinkled onto the wet base coat, adding both texture and visual interest. The culmination of this process is sealing the floor with a top coat, which not only bolsters durability but also imparts a glossy finish that protects the layers beneath. Each step is pivotal in ensuring a high-quality finish that is both visually appealing and capable of withstanding daily wear and tear.
Properly executed, these steps guarantee that the epoxy floor will maintain its beauty and functionality over time.
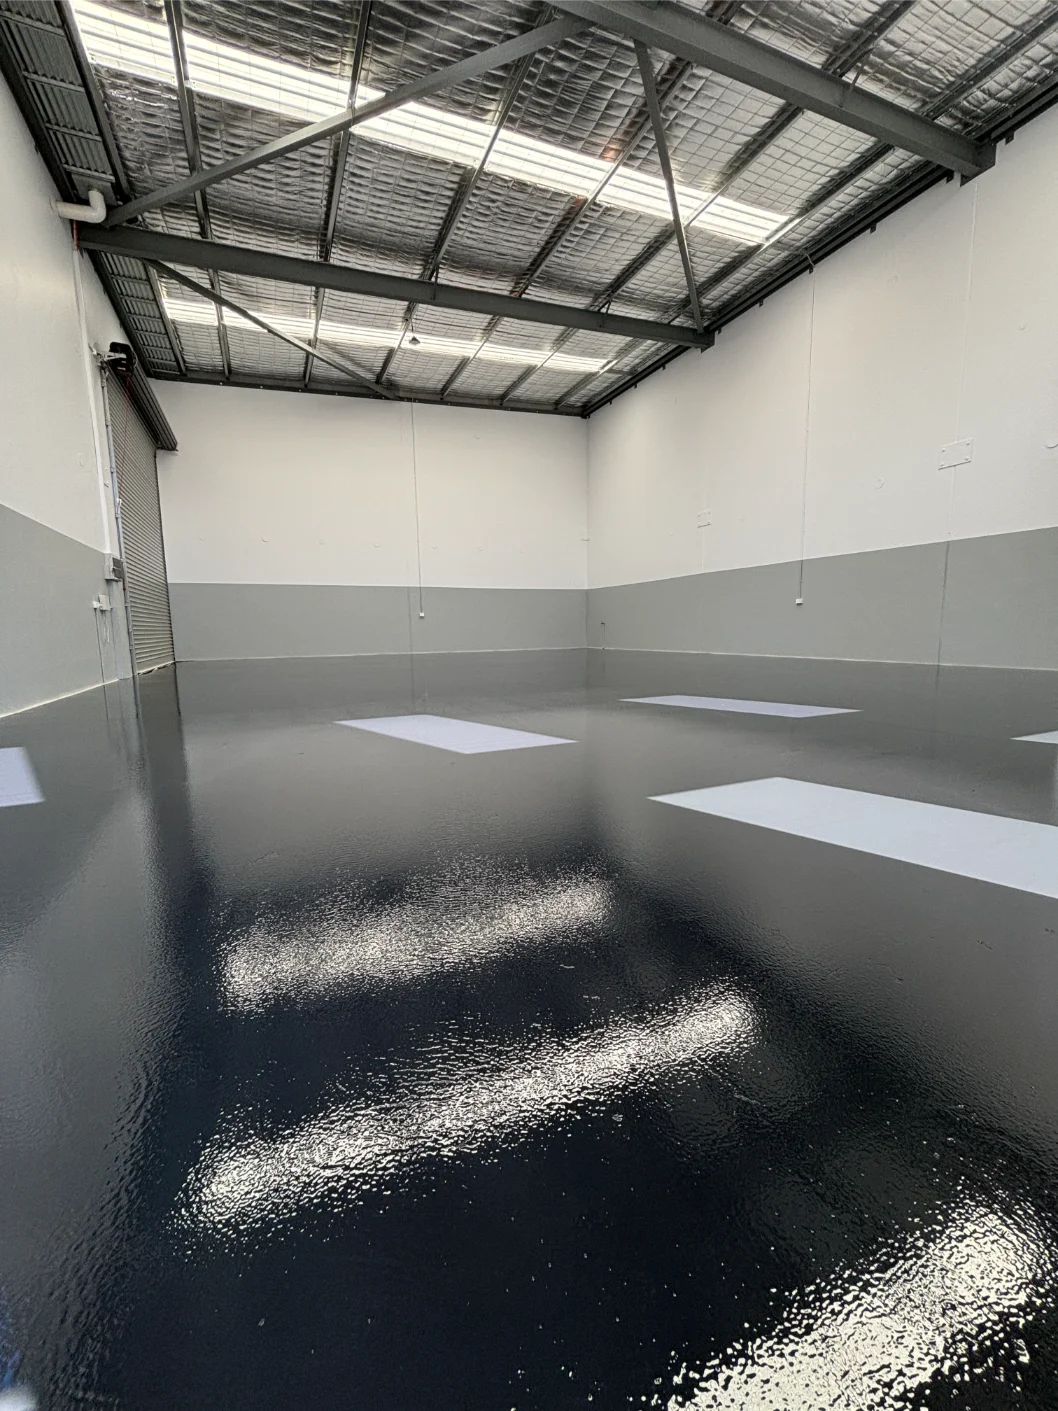
Applying a primer layer for better adhesion
Applying a primer layer stands as the foundational step in the epoxy application journey, crucial for fostering better adhesion between the concrete substrate and the epoxy layers. This primer acts as a bonding agent, significantly enhancing the bond strength, which in turn contributes to the floor’s overall durability and integrity.
Spreading the base coat evenly across the floor
The subsequent step involves spreading the base coat evenly across the floor. This layer is the heart of the epoxy flooring, providing both the core strength and the base colour. Ensuring an even application is key to achieving a consistent finish and avoiding potential weak points in the flooring structure.
Sprinkling decorative flakes for aesthetic appeal (optional)
Adding an optional yet impactful touch involves sprinkling decorative flakes over the wet base coat. This step elevates the aesthetic appeal of the floor, introducing additional colours, textures, and visual depth. Proper application ensures these flakes adhere well and are uniformly distributed, creating a visually striking and personalised floor surface.
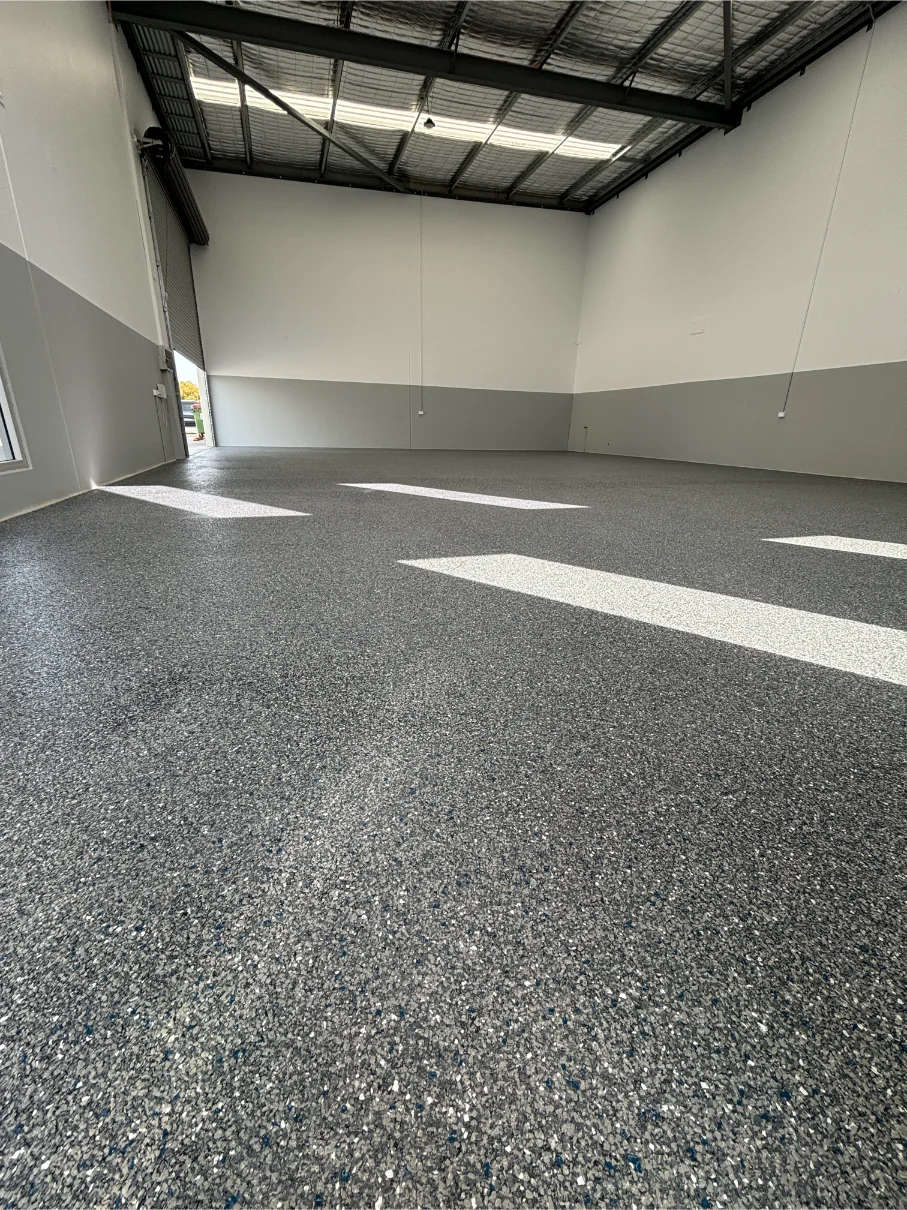
Sealing with a top coat for durability
The final flourish in the epoxy application process is sealing with a top coat. This protective layer is pivotal for enhancing the floor’s durability, offering a glossy finish that shields the underlying epoxy from physical wear, chemical spills, and staining. Moreover, the top coat serves to amplify the floor’s visual appeal, ensuring its colour and lustre endure the test of time.
Curing the epoxy floor for use
Curing the epoxy floor is the final, crucial phase in the flooring process, pivotal for transitioning the application into a fully functional surface. This stage demands a careful balance of temperature and humidity, key factors that significantly influence both the curing time and the ultimate strength of the floor. Epoxy floors necessitate a specific period to fully cure, during which the chemical reactions between the resin and hardener culminate, transforming the floor into a hard, durable surface.
The time required for epoxy to fully cure varies, contingent on the product used and the prevailing environmental conditions. Proper curing is indispensable for ensuring the floor’s longevity and resilience, preparing it for daily activities and enabling it to withstand the rigours of its intended environment.
Temperature and humidity considerations for curing
Temperature and humidity are critical factors in the curing process of epoxy flooring. Achieving the right balance is vital for the epoxy to cure properly, ensuring maximum strength and durability. High humidity levels can extend the curing period and potentially compromise the finish, whereas temperatures that are too low may impede the essential chemical reactions needed for curing.
A controlled environment is key to securing a flawless and durable epoxy floor.
Time required for epoxy to fully cure
The time required for epoxy to fully cure is subject to variation, influenced by the specific type of epoxy used and the conditions at the time of application. Typically, epoxy floors take about 24 to 72 hours to dry to the touch and accommodate light foot traffic. However, a full 7 days is often recommended for the epoxy to completely cure and achieve its ultimate hardness and capacity to endure heavy use.
This extended curing period is crucial for the floor to solidify thoroughly, ready to handle the demands of its operational environment.
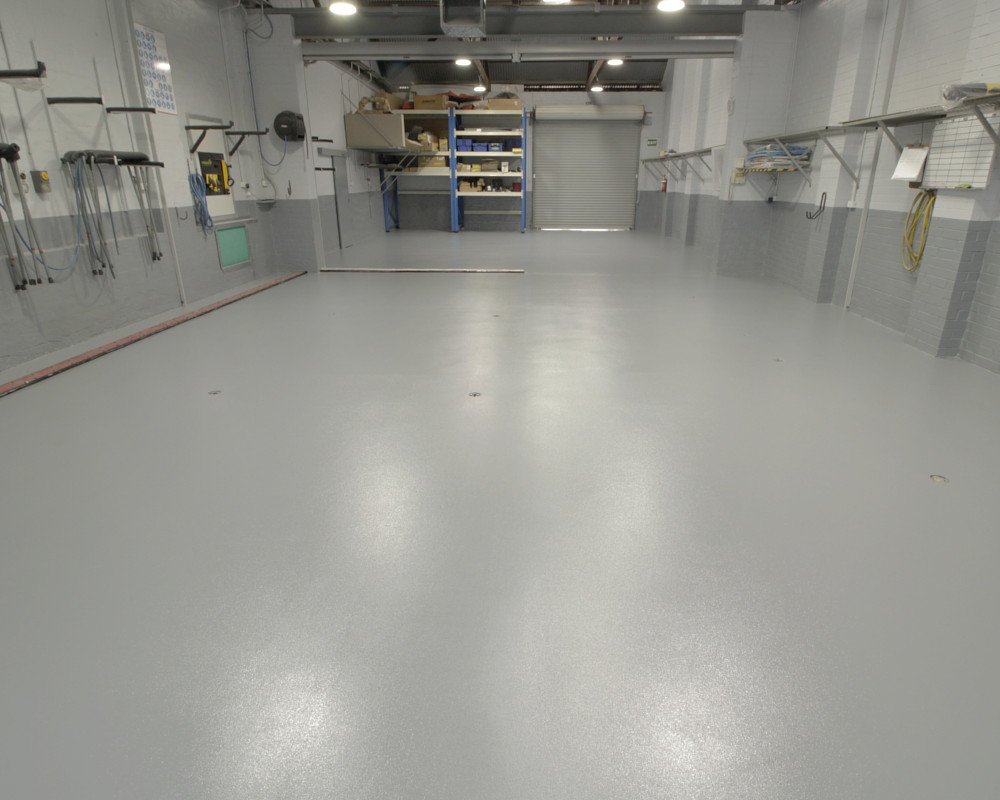
Maintenance of epoxy flooring for longevity
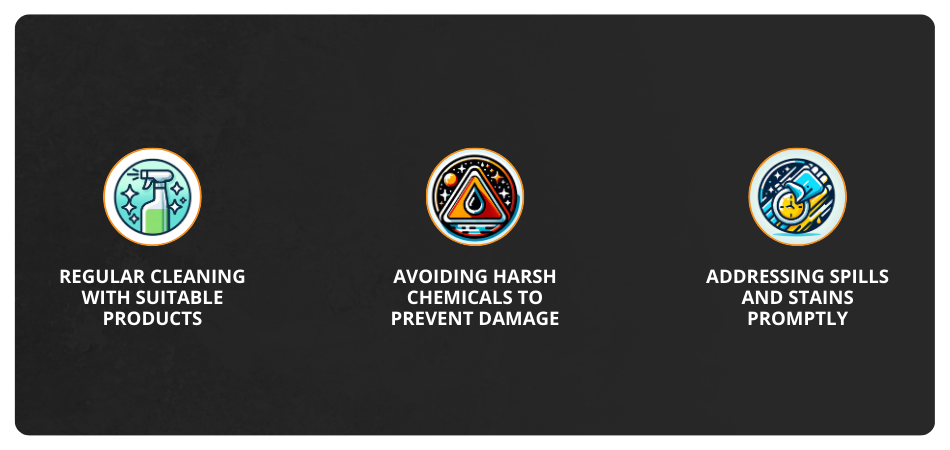
Maintaining epoxy flooring is crucial for ensuring its longevity and preserving its aesthetic appeal. Regular cleaning with suitable products plays a pivotal role in keeping the floor pristine and free from dirt and grime accumulation. It’s imperative to avoid harsh chemicals, which can erode the epoxy’s surface and diminish its lustre.
Furthermore, promptly addressing spills and stains is essential to prevent permanent discolouration or damage. By adhering to these maintenance practices, epoxy flooring can maintain its resilience and visual appeal, continuing to serve as a durable and attractive flooring solution for years to come.
Regular cleaning with suitable products
Regular cleaning stands as a fundamental practice in preserving the shine and durability of epoxy flooring. Utilising suitable products tailored for epoxy surfaces is key to maintaining cleanliness without compromising the floor’s integrity. Gentle, non-abrasive cleaners effectively lift dirt and grime without leaving scratches or dulling the surface, ensuring the flooring remains vibrant and extends its service life.
Avoiding harsh chemicals to prevent damage
Maintaining the epoxy floor’s quality and aesthetic necessitates avoiding harsh chemicals. Potent solvents and acidic solutions can deteriorate the epoxy resin, causing surface damage and diminishing its lustre. Choosing pH-neutral cleaning solutions is crucial for keeping the floor damage-free, and preserving its gloss and structural integrity for the long haul.
Addressing spills and stains promptly to avoid discoloration
Promptly addressing spills and stains is vital for preventing permanent discolouration and safeguarding the epoxy flooring from damage. Swift action with appropriate cleaning agents can prevent stains from embedding, ensuring the floor maintains its immaculate appearance. Consistent vigilance against spills not only keeps the floor looking its best but also enhances its longevity, securing it as a lasting feature of the space.
Final Thoughts
In conclusion, epoxy flooring emerges as a stellar flooring solution that combines durability with aesthetic flexibility, making it ideal for both commercial and residential settings. The detailed process—from meticulous surface preparation through precise mixing, careful application, and thoughtful curing—ensures a finish that is not only visually stunning but also resilient enough to stand the test of time.
By incorporating customizable options like colour flakes and metallic pigments, epoxy flooring can be tailored to fit any design preference, adding both style and function to any space. With proper maintenance, epoxy flooring remains a cost-effective, attractive, and durable option, underscoring its increasing popularity across varied environments.
